Raising Baby Chicks – Everything You Need To Know
Raising playful baby chicks isn’t too hard if you know the ins and outs.
We’ll guide you through the process!
Getting Your Chicks
First of all, you need to get some chicks!
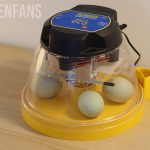
You can hatch your own eggs, but prepare a decent-sized incubator if you do so.
The other option is buying day-old chicks:
- locally, in your neighborhood, during springtime
- from a small farm, hatchery, or supply store
- online with shipping to your door
You can also buy ready-to-lay pullets if you are eager for eggs, but where’s the fun in that?
Setting up the Brooder
First of all, you will need to set up your chick brooder. You can’t just place your chicks in the coop with the adults; they need a clean and safe environment to grow up.
Prepare the brooder before the chicks arrive so the brooder has the perfect warm and cozy climate for the incoming chicks.

To set up a good brooder, you will need:
- a container (can be anything, like cardboard, wood or plastic)
- a heat lamp and a thermometer (or alternative heaters)
- waterers and feeders
- clean bedding
Let’s see what these are all about.
The Brooder Container
You will need a container to prevent your chicks from running free. Commercial brooders are available, but you can get creative with all kinds of materials, like cardboard and plastic containers, or create your own wooden brooder.
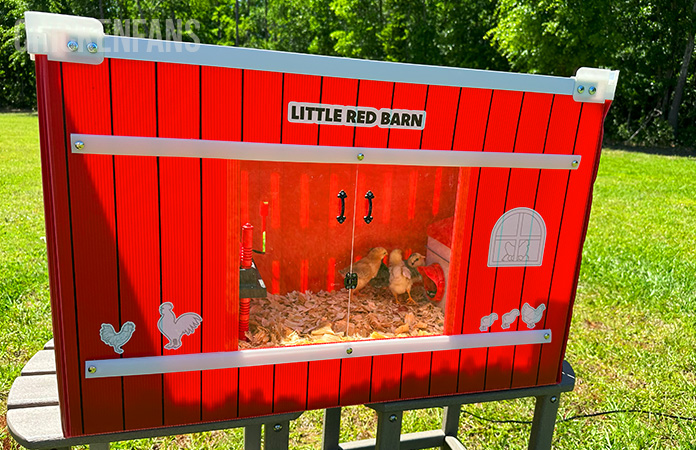
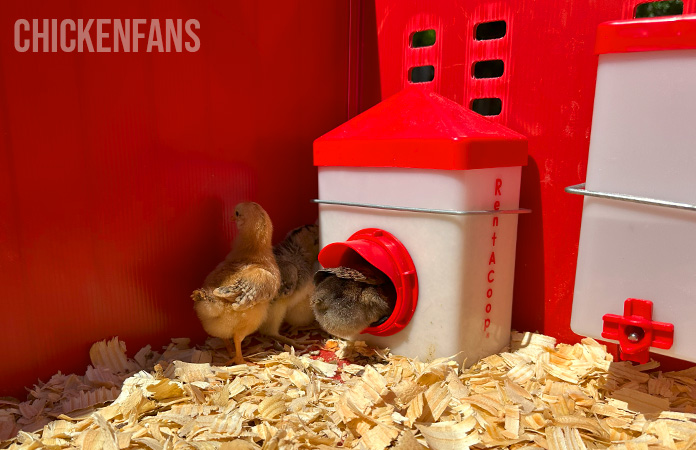
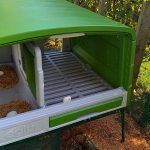
You can choose to buy an all-in-one brooder set, like the RentACoop Little Red Barn we tried out, or make one yourself.
Chicks don’t need as much space as full-grown chickens. How large should a brooder be? The brooder should provide at least 2.5 sq feet per chick, but as always, the more, the better. Keep in mind that they will grow pretty quickly and need some space.
A Heat lamp and a Thermometer
Chicks can’t regulate their body temperature yet, so they need external heat.
Make sure to get a red lamp!
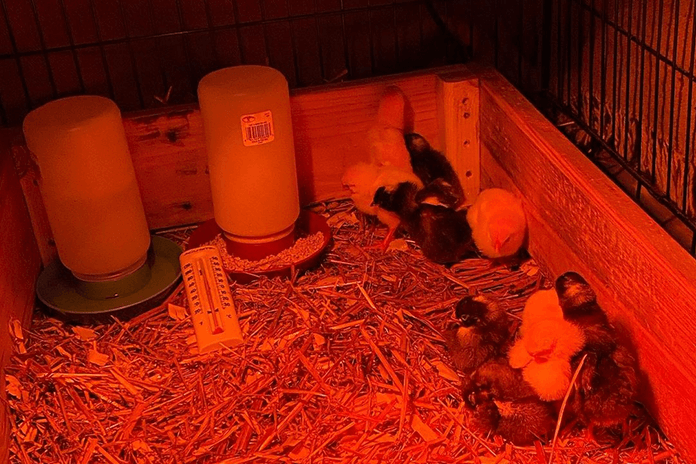
The traditional white lamps keep them up and restless, which results in stress and undesirable behavior. They will start pecking each other, and it will impact their growth.
A red lamp will keep them docile and calm. Make sure to avoid bulbs with Teflon coating, as this will poison the chicks. Place the thermometer under the lamp.
Alternative Heat Sources
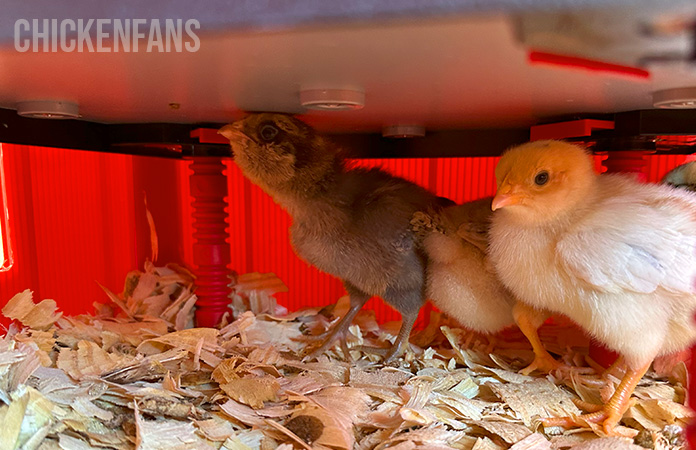
A heat lamp is inexpensive but uses much power and can be dangerous. A safer alternative is to use radiant heat.
You have a couple of options:
- adjustable chick brooder heating plates
- a commercial brooder, like the Brinsea EcoGlow Safety
- create your own Mama Heating Pad in the brooder
If you like to do things on your own, you can build a low-budget Mama Heating Pad (MHP). It’s basically a wire rack or fencing that you place very low to the ground, where you attach a heating pad. On top of it, put some protection like simple cardboard.
Water
Chicks need fresh and clean water all the time. They will drop and spill in it, so make sure to replace it regularly. Don’t place the water too close to the heater.
When they feel comfortable under the heat lamp, they will happily wander away from it to colder places and drink. Also, chicks are not smart, so make sure they can’t drown in the water reservoir.
Dehydration
When your new baby chicks arrive, ensure they have immediate access to water, as they will probably be very thirsty. When they arrive, dip their beak in the water to teach them how to drink.
Right before hatching, chicks absorb the egg yolk sac in their body through their belly buttons. Sometimes they hatch with the yolk sac not fully absorbed, don’t snip it, they will still absorb it.
This yolk contains essential nutrients and antibodies for the first two days. That’s how they can survive shipping. But they might be very dehydrated when they arrive, so make sure they drink.
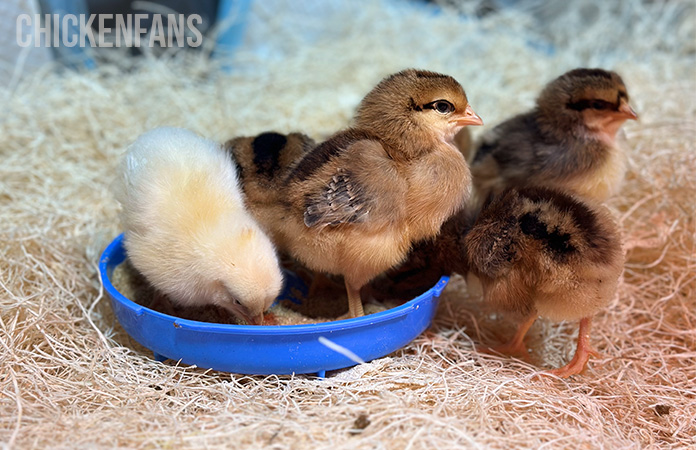
Food
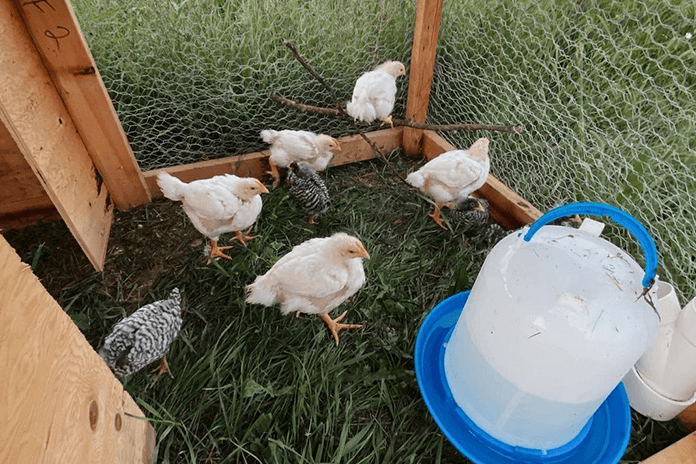
Without precaution, chicks will make a mess with their food and poop. They will scratch their food and will pick up dirt while trying to eat spilled food outside of the feeder. Therefore, you need a specific chick feeder, like these plastic red feeders. Chicks are drawn to the color red and the feeders are just about the right size for them.
Chicks also need specific food for their needs. Starter feed or crumbles will contain all the necessary nutrients to grow into a healthy and strong chicken.
Some of the starter crumbles contain medication against coccidiosis, a parasitic disease. The medication is meant as prevention, not as a cure, so ensure everything stays as clean as possible.
Last but not least, make sure they have some grit. Chicks don’t have teeth, and they can’t chew their food. They need grit to help take the food down and ensure proper digestion.
You can also feed them some treats, but know that they’re considered junk rather than a food supplement, so don’t exaggerate with the treats.
The Temperature in the Brooder
Chicks will use the heat lamp to regulate their temperature. When they are cold, they will move toward the heat lamp. On the contrary, it’s too warm if you see them huddling on the sides. Raising baby chicks includes continuously observing your chicks. Whatever the thermometer is saying, their behavior will guide you. In general, there must be plenty of hot and cold places for the chicks to hang out.
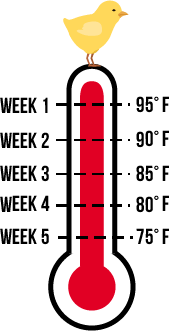
When the chicks arrive, the temperature in the brooder under the lamp should be 90/95 degrees Fahrenheit. Then, each week, lower the temperature by 5 degrees until they have feathers. That’s about 5 to 8 weeks in.
When they feather out, you can remove the heat lamp and they are ready to stretch their legs outside.
The Bedding
There are many bedding options available, but make sure never to use newspaper as bedding. This will cause spraddle legs.
Some good beddings are:
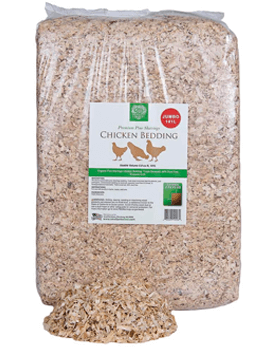
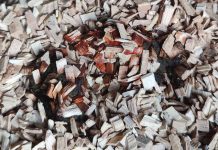
- pine shavings
- straw or hay
- construction sand (river sand)
- Nesting box pads
Pine shavings are an easy solution. Make sure they are untreated. The only problem with pine shavings is that it won’t take much time to find them in their water, food, and all over the place.
Construction sand is great for their feet and has a lower risk of bacterial diseases. It’s also ideal for them to dust bathe. A problem with sand is that it can become really hot under a heat lamp. Also, construction sand is wet when you buy it; you’ll need to get it dry first.
Straw and hay are natural solutions that also compost down. The downside with straw is that it doesn’t absorb the poop and pee as well as the other solutions.
One of the best options, in our opinion, to use as bedding in a brooder are nesting box pads. As chicks are messy and poop everywhere, you want bedding that’s easy to clean or replace. And they are. If any particular area becomes too heavily soiled, it is simple to pick out the dirty areas in one clump of material and dispose of it.
Going Outside
When they are about two or three weeks old, the chicks can go outside for short periods. Ensure it’s not too windy and the temperature is above 65 degrees.
Always cover the chicks so they can’t run away and they are protected from predators. A simple rabbit cage works well. Make sure to always keep an eye on them, as they tend to escape.
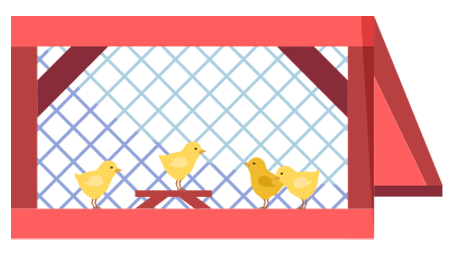
After 4 weeks, you can add a small roost in the brooder so they can start roosting. Just a small roost about 4 inches above the floor will do. Make sure you don’t place it right under the heat lamp.
When they are about 6 weeks old and have their feathers, they can go outside and move to the main chicken coop. At first, they won’t realize that it’s their new home and just chirp for help. You can keep them locked in the chicken coop for two days, so they understand it’s their new home base.
When outside, they can just be treated like the other chickens and enjoy their food. Hens will start laying eggs when they are approximately six months old.
Pasty Butt
Droppings of small chicks can get stuck under their tail, clog up and dry. This can prevent the chick to pass any more droppings and block the vent. This is called pasty vent (or pasty butt) and when left untreated can be fatal.
When you are raising baby chicks, make sure to inspect your chicks every day. At the start maybe even multiple times a day. Whenever problems start to arise, use some warm wet cloth to remove the clutter and clean the vent. You can use some vegetable oil and warm water to wash and clean everything.
Be gentle, as it’s easy to hurt the chicks. Always make sure to wash your hands thoroughly to prevent infections.
Pasty butt can be caused by stress or temperatures that are either too cold or too hot. That’s why it occurs less frequently with broody hens.
Deformations
Another thing to look out for when the chicks are growing up is deformations.
Some common twists you might observe when raising baby chicks are:
- scissor beak: chickens with a crossed beak have their top and back beaks unaligned. This is usually caused by unfortunate genetics, but chicks can generally survive with this condition.
- spraddle legs: chicks with spraddle legs or splay legs have their feet pointing to the side instead of to the front. The feet can’t bear the weight as they normally should. This can be caused by a slippery floor, like newspapers. Fortunately, it can be treated by attaching rubber bands or hobbles to their legs.

Chick Health
Chicks are still young and vulnerable to viral and bacterial infections and parasites. One of the most common is coccidiosis (cocci), a parasitic disease. These parasites just love the warm and moist environment of a brooder.
Always make sure to keep an eye on the droppings of your chicks. If they have diarrhea or when there is blood or mucous in the droppings, take it seriously. Coccidiosis and other diseases can spread rapidly in the brooder and infect all the chicks.
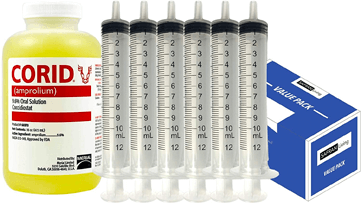
To prevent diseases, always keep the brooder clean, fresh, and dry. Some of the starter crumbles come with feed additives to prevent coccidiosis. In case of an infection, the full flock needs to be treated with antibiotics.
Of course, cocci is not the only disease that may strike while raising baby chicks. There are other diseases like bronchitis, Fowl Pox, Marek’s disease. Always keep an eye on your flock for unusual behavior.
First Aid Kit
When you are raising baby chicks, there is no time to lose when something goes wrong. Make sure to have your first aid kit ready.
A first aid kit should contain some care products such as:
- bandages or tape
- disinfectant
- saline to clean wounds
- antimicrobial spray
- powder against lice and mites
But it should also contain work gear, such as latex gloves, clippers, a headlamp, droppers, and a flashlight.
Also, make sure to have a pet crate available to isolate a chick from the rest of the flock.
Raising Baby Chicks: a Wonderful Experience
It’s just amazing to see your flock growing from day-old chicks. With the general guidelines and tips in this guide, you’re off to go.
If you have any more questions, make sure to ask them in the comments!
Happy Chick Raising!
Credits Featured Image: @tinyfarm_homestead (IG)


